Mobile Photography Tips: Getting The Most From Your Camera App
Mobile
By Ethan Walker

Smartphone cameras have become ridiculously good. In many situations, the phone in your pocket can capture photos that would have required dedicated camera gear just a few years ago. The catch? Most people are only using a fraction of what their camera app can actually do.
These mobile photography tips are designed to help you get better photos immediately, without buying accessories or spending hours learning photography theory. Whether you're using an iPhone, Samsung Galaxy, Google Pixel, or another flagship device, the principles remain the same: understand your camera app, use light effectively, and stop relying on automatic settings for everything.
If you're interested and more curious about phone cameras to make the most out of your pictures, you may also read our Best Phone Camera for Social Media Content Creators article.
Understand What Your Camera App Is Actually Doing
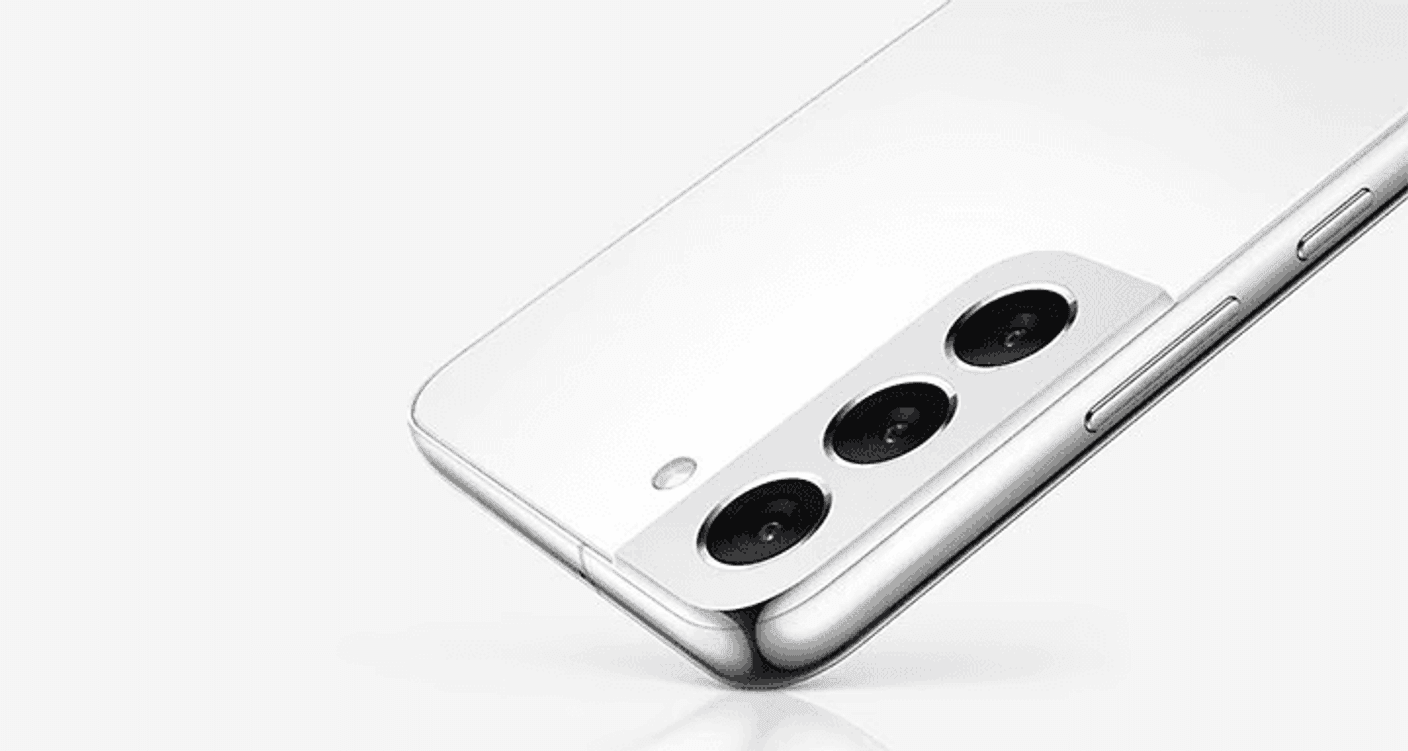
Image: Samsung
The biggest mistake smartphone photographers make is assuming the camera app handles everything perfectly.
Modern phones use computational photography, which means your device is constantly processing, enhancing, and sometimes completely reinterpreting the image before you even see it.
Learn Your Available Shooting Modes
Before taking better photos, spend five minutes exploring your camera app.
Most modern camera apps include:
Photo mode
Portrait mode
Night mode
Panorama mode
Pro or Manual mode
Macro mode
Video mode
High-resolution shooting mode
Many users never move beyond standard Photo mode, leaving useful features untouched. Although that’s not necessarily a bad thing, if you’re serious about advancing your mobile photography skills, learning these features will come in handy.
Turn On Grid Lines
Grid lines are one of the easiest upgrades to your photography.
They help you apply the rule of thirds, a composition technique that places your subject slightly off-center for a more visually appealing image.
You'll find this option inside your camera settings menu.
The difference is immediate. Since then, I rely on the grid lines to capture that specific layout I wanted in a photo.
Master Lighting Before Anything Else

Image: Google Store
If there's one rule that matters more than any camera setting, it is that good lighting beats expensive hardware.
A well-lit photo from a mid-range phone often looks better than a poorly lit photo from a flagship device.
It comes with preference on what your standard of your photos will be.
Use Natural Light Whenever Possible
Outdoor lighting remains the gold standard for smartphone photography.
For best results, the best time to shoot is during early morning and late night. Avoiding harsh midday sunlight is a must, otherwise your subject will burst into lighting as a result. For a clear capture, positioning of them facing the light source is ideal.
The period shortly after sunrise and before sunset, often called "golden hour", creates softer shadows and more flattering colors, so keep an eye on that as well.
Avoid Mixing Light Sources
Indoor photography often suffers because multiple light sources create inconsistent colors (unless it's more artistic intentional, but mixing light sources can be tricky).
For example:
Window light is typically cool
Household bulbs may appear warm
LED lighting can vary dramatically
Try using one dominant light source whenever possible.
Tap To Focus Every Time
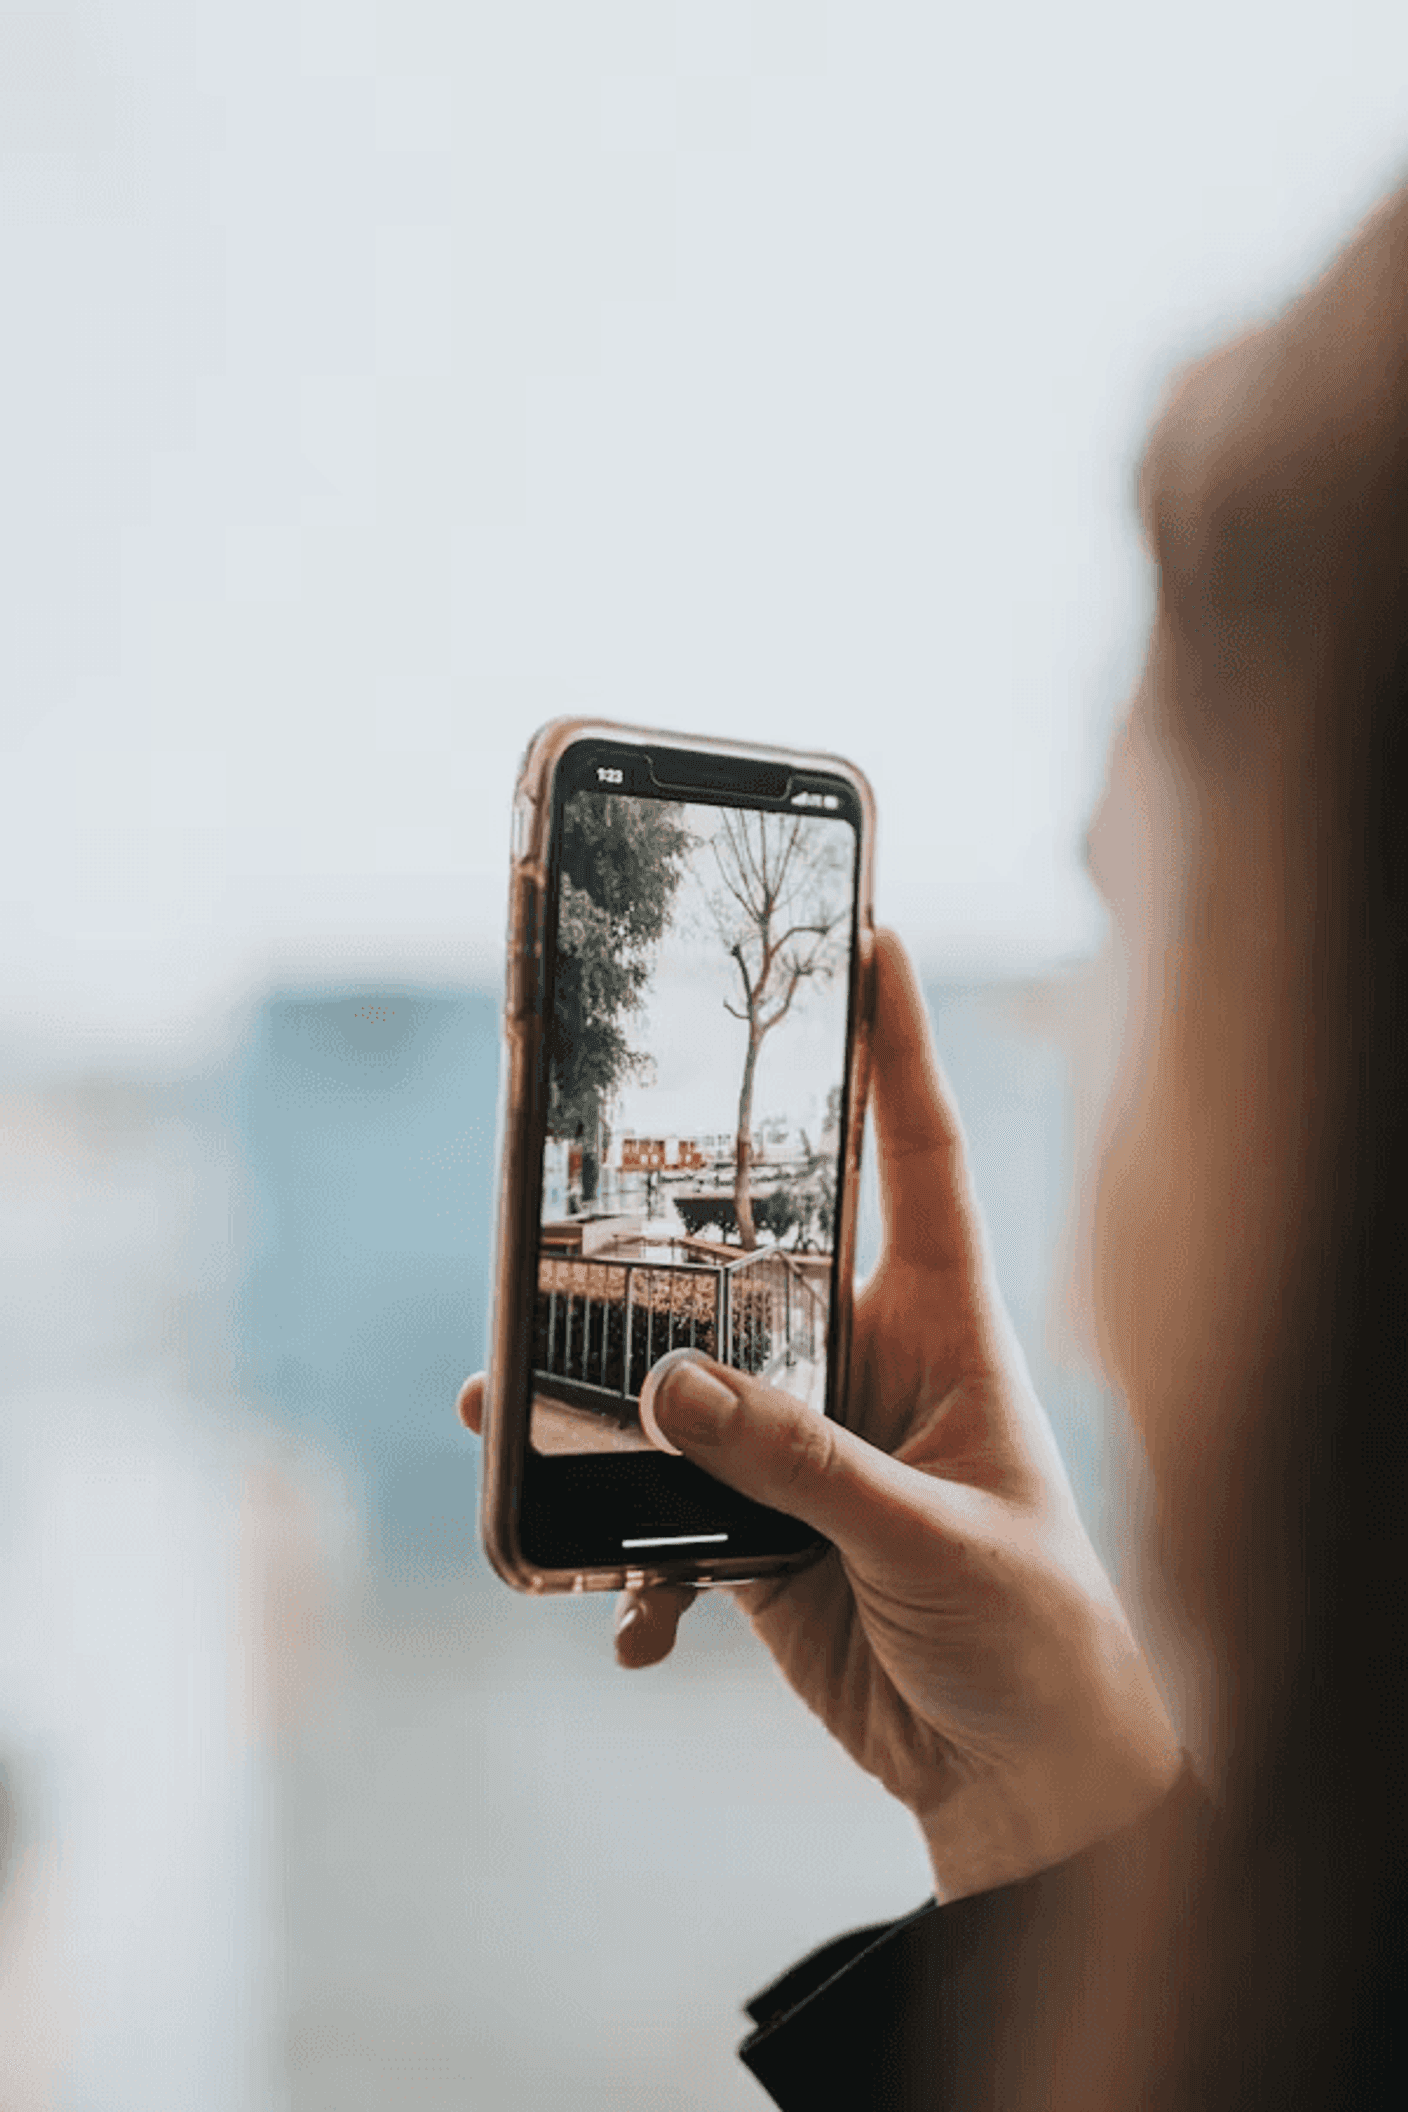
Image: Unsplash
Back in the day, most people simply opened the camera and pressed the shutter. But thanks to its screen, tapping the screen to focus has become a quick and reliable feature.
Choose The Exact Focus Point
Before taking a photo, tap the subject on your screen.
This tells the camera where to focus, where to measure exposure, and what should appear sharp.
For portraits, tap the eyes.
For products, tap the product itself.
For food photography, tap the main dish.
This single habit can dramatically improve image quality.
Adjust Exposure Manually
After tapping to focus, most camera apps allow you to slide your finger up or down to adjust brightness.
Use this feature.
If highlights look blown out, lower exposure slightly.
It's much easier to brighten shadows later than recover overexposed skies.
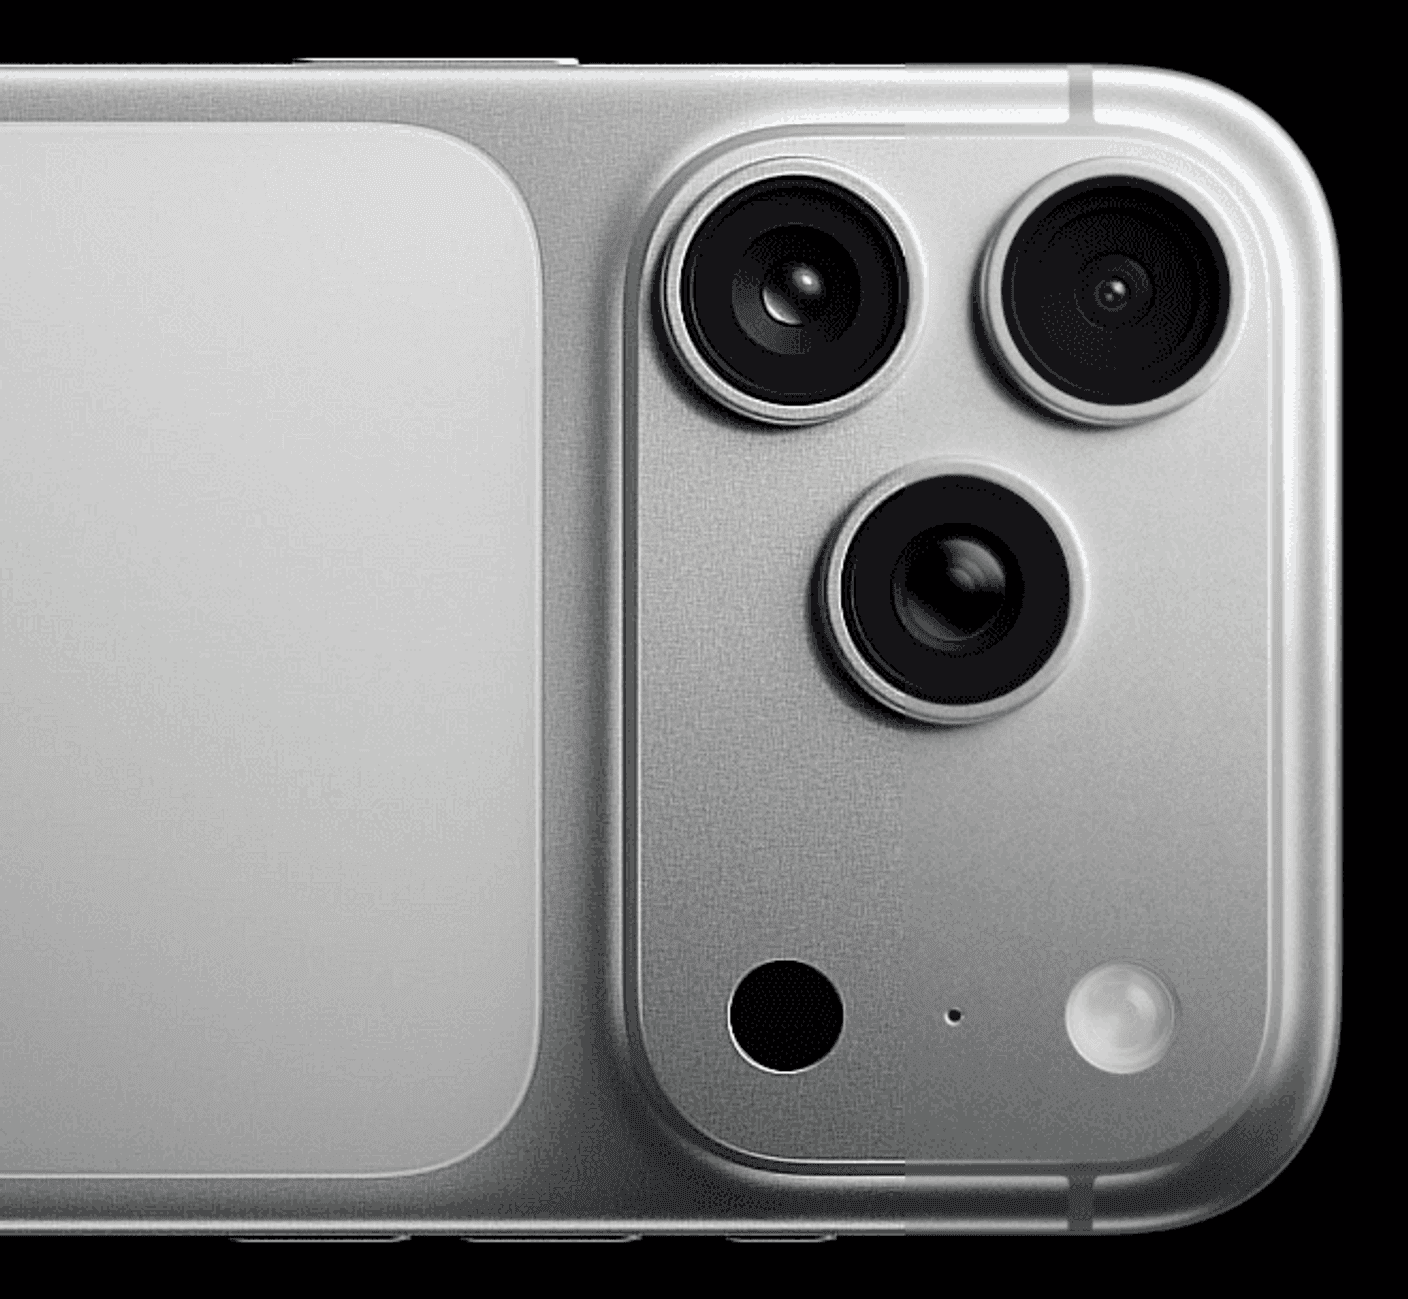
Image: Apple
One of the quickest ways to ruin image quality is excessive digital zoom, especially when your phone only has one lens.
Move Your Feet Instead
When possible:
Walk closer to your subject
Recompose the shot
Use optical zoom lenses if available
Digital zoom simply crops and enlarges the image, reducing detail.
Physical movement almost always produces better results.
Know When Telephoto Lenses Help
Many premium, even mid-range, phones include dedicated telephoto cameras.
These lenses provide genuine optical zoom and preserve image quality much better than digital cropping.
If your phone offers 2x, 3x, or 5x optical zoom, use those focal lengths instead of pinching the screen endlessly.
Use Portrait Mode Carefully
Image: Apple
Portrait mode has improved significantly, but it's not magic.
Keep Background Separation Simple
Portrait mode works best when:
The subject is clearly separated from the background
Hair isn't overly complex
Lighting is consistent
Complicated backgrounds can confuse edge detection and create unnatural blur effects.
Don't Overdo The Blur
Many camera apps let you adjust background blur strength.
A subtle effect usually looks more professional than maximum blur.
Natural-looking photos age much better than heavily processed ones.
Make Night Mode Work For You

Image: Samsung
Night photography is one area where smartphone cameras have improved dramatically thanks to advanced tech that learns how to detect or enhance lighting through the screen.
Hold Your Phone Completely Still
Night mode often combines multiple exposures.
Any movement reduces sharpness.
To ensure that, use both of your hands, lean on a stable surface or brace against a wall. But if you really want a stable shot at night or in a dark area, consider using a small tripod.
Let Night Mode Finish Processing
Many users move the phone before capture is complete.
Wait until the camera finishes processing before lowering the device.
Patience often results in noticeably sharper images.


Clean Your Lens More Often Than You Think

Image: Unsplash
This sounds obvious, but it's astonishing how often people forget.
Smartphone cameras live in pockets, bags, and hands all day.
Even with a phone case, check your lenses once in a while.
A Dirty Lens Creates Soft Photos
Fingerprints cause:
Reduced sharpness
Lower contrast
Increased glare
Hazy highlights
A quick wipe with a microfiber cloth can instantly improve image quality.
It's probably the cheapest camera upgrade you'll ever get.
Experiment With Pro Mode
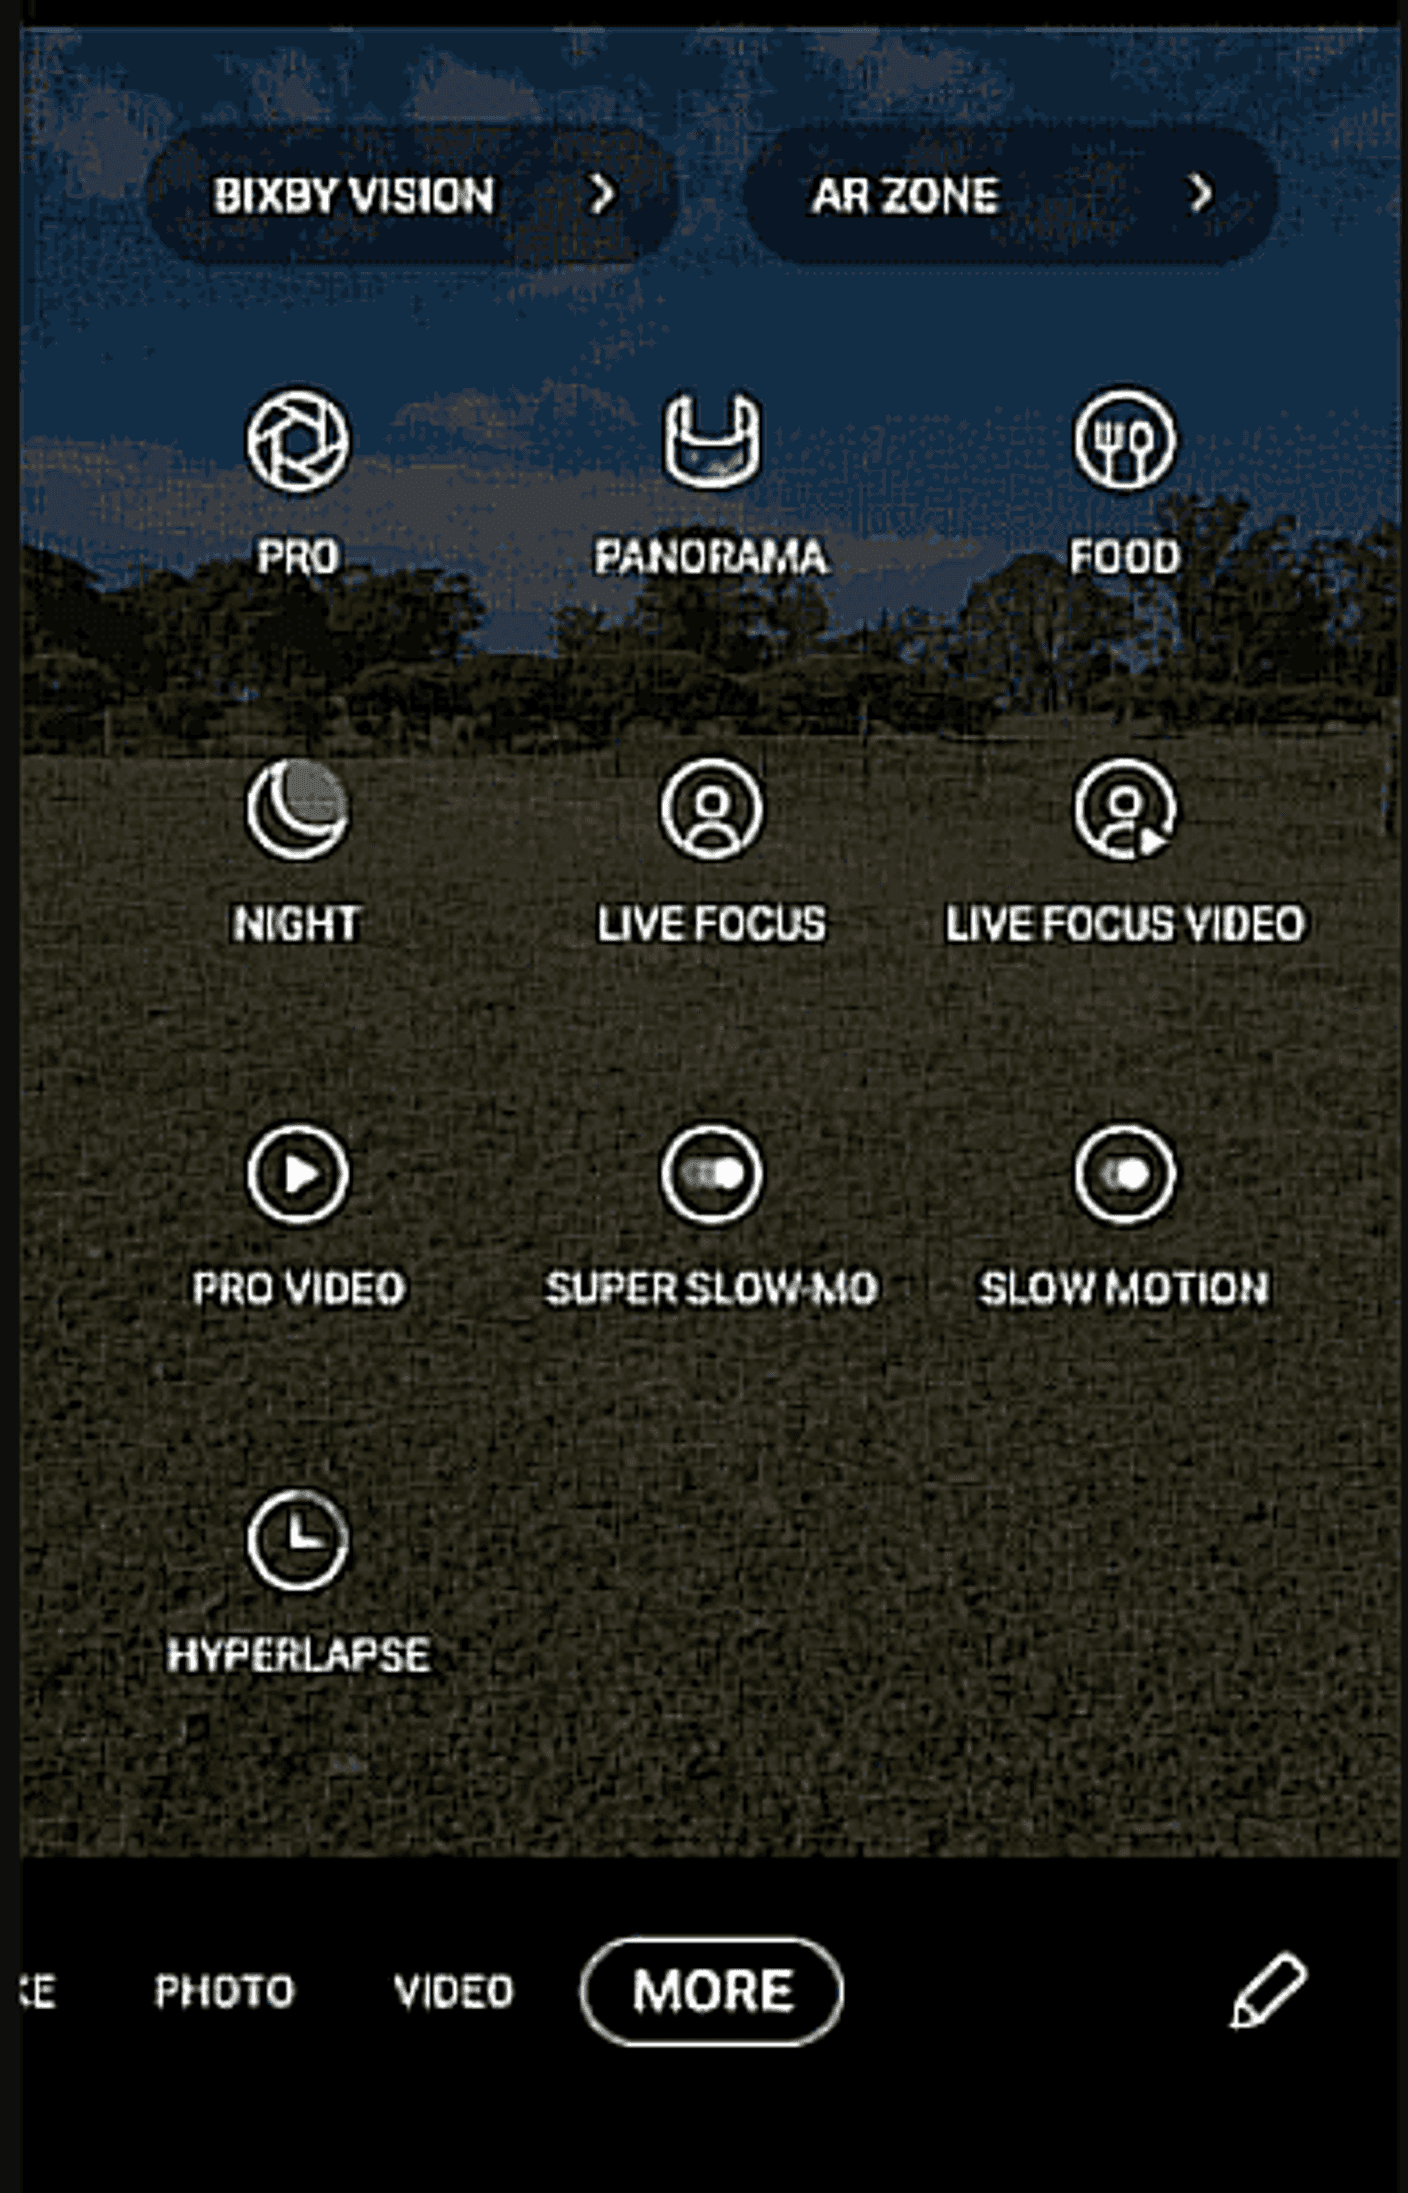
Image: Samsung
Many flagship phones now include surprisingly capable manual controls.
Start With These Settings
You don't need to become a photography expert, though, but learning these will make you one in a way
Focus on learning:
ISO
Shutter speed
White balance
Exposure compensation
Small adjustments can produce significant improvements in difficult lighting conditions.
Shoot RAW When Available
RAW files preserve more image data than standard JPEGs.
Benefits include:
Better editing flexibility
Improved highlight recovery
More accurate colors
Greater dynamic range
The files are larger, but serious mobile photographers often find the trade-off worthwhile.
Edit Your Photos Before Sharing

Image: Unsplash
Almost every professional-looking smartphone photo has been edited.
Focus On Small Adjustments
Start with:
Exposure
Contrast
Highlights
Shadows
White balance
Avoid extreme filters that make photos look dated after a few months.
Subtle edits generally create the best long-term results.
Use Built-In Editing Tools
The editing tools included in modern phones are surprisingly powerful.
For many users, there's no need to download additional apps.
A few careful adjustments can transform a good photo into a great one.
Before you take your next photo, avoid these common errors:
Shooting through dirty lenses
Overusing digital zoom
Ignoring composition
Relying entirely on Auto mode
Using flash unnecessarily
Oversaturating edits
Forgetting to focus manually
Shooting in poor lighting when better light is available
Eliminating these mistakes often improves results faster than buying a new phone.
Final Verdict
The best smartphone camera isn't always the one with the biggest sensor or highest megapixel count. More often, it's the one being used properly.
These mobile photography tips won't turn your phone into a professional DSLR, but they'll help you get significantly better results from the camera app you already have. Start with lighting, focus deliberately, avoid excessive zoom, and spend a few minutes learning your phone's available shooting modes.
The reality is that modern smartphones are incredibly capable imaging tools. Most people simply haven't unlocked their full potential yet. Plus, if there’s something that caught your eye, moments to share or save, just grab your mobile phone from your pocket or bag with ease and capture the best photos possible.
Want to give your mobile photography a boost while looking for an upgrade that has value, go and check out our article Best Android Phones Under $400 Right Now.

Ethan Walker
Consumer Tech & Mobile Writer
Ethan's love for technology started with building PCs and experimenting with gadgets at a young age. Today, he covers consumer tech, smartphones, and emerging innovations, helping readers understand what products are actually worth their attention.


